Selecting and installing Philips LED headlights for your car can be an excellent way to enhance your nighttime visibility and improve the overall look of your vehicle. Philips is a well-known brand in the automotive lighting industry, and they offer a wide range of LED headlight bulbs to choose from. In this guide, we will walk you through the steps to select and install Philips LED headlights for your car.
Step 1: Know Your Car's Headlight Bulb Size
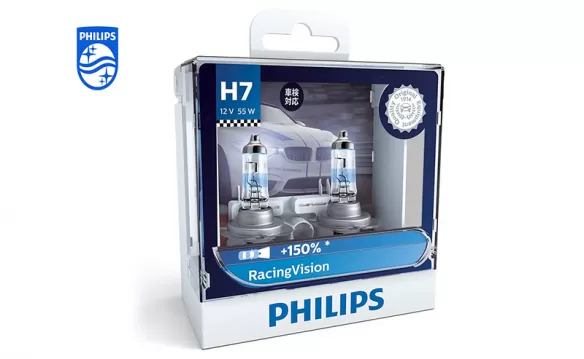
Before you start shopping for Philips LED headlights, you need to know the correct bulb size for your car. You can find this information in your car's owner's manual or by checking the existing bulbs in your headlights. The most common bulb sizes are H1, H4, H7, and H11, but there are many other sizes as well. Make sure to note the exact bulb size and any specific requirements your vehicle may have.
Step 2: Choose the Right Philips LED Headlight Bulbs
Once you know your car's bulb size, you can start looking for the right Philips LED headlight bulbs. Philips offers various models and options, so consider the following factors when making your choice:
1. Brightness:
Philips LED bulbs come in various brightness levels, typically measured in lumens. Consider your specific needs – whether you want a standard replacement, an upgrade for better visibility, or a high-performance option.
2. Color Temperature:
LED headlights come in different color temperatures, typically measured in Kelvins (K). A lower Kelvin rating (e.g., 3000K-4000K) will produce a warmer, yellowish light, while a higher Kelvin rating (e.g., 5000K-6000K) will produce a cooler, bluish light. Choose a color temperature that suits your preference and local regulations.
3. Lifespan:
LED bulbs are known for their long lifespan. Philips LED bulbs are no exception. Consider the estimated lifespan, which can range from 20,000 to 50,000 hours or more.
4. Compatibility:
Ensure that the Philips LED headlight bulbs you choose are compatible with your vehicle's make and model. Some vehicles may require specific adapters or modifications for the installation.
5. Beam Pattern:
Look for LED bulbs that provide a proper beam pattern to avoid blinding oncoming drivers. Many Philips bulbs are designed to mimic the pattern of traditional halogen bulbs.
6. Warranty:
Philips often offers warranties on their LED headlight bulbs. Check the warranty terms and conditions to ensure peace of mind in case of any defects or issues.
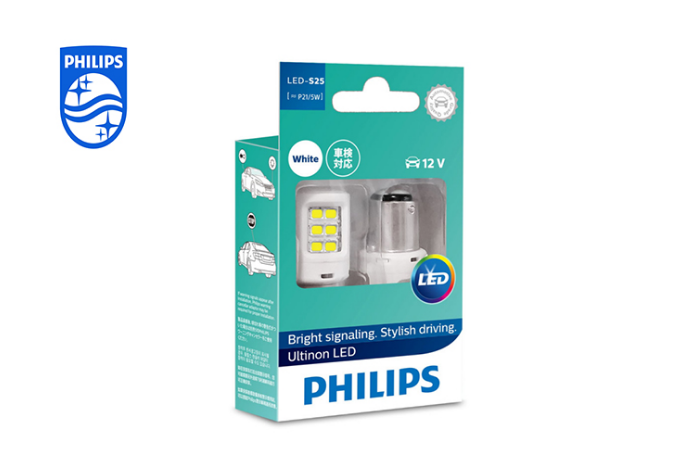
Step 3: Purchase the Philips LED Headlight Bulbs
Once you've determined the right Philips LED headlight bulbs for your car, purchase them from a reputable seller. You can buy them at auto parts stores, online retailers, or directly from Philips' official website. Be cautious of counterfeit products, and always buy from trusted sources to ensure the authenticity of the bulbs.
Step 4: Prepare for Installation
Before you start the installation process, gather the necessary tools and equipment. You may need basic tools like a screwdriver, pliers, and gloves. Ensure that you have a safe and well-lit workspace to work in.
Step 5: Installation
Follow these general steps for installing Philips LED headlight bulbs:
1. Locate Your Headlight Bulbs: Open your car's hood and access the back of the headlight housing. Identify the existing bulbs and determine how to access them.
2. Remove the Old Bulbs: Carefully remove the old halogen or incandescent bulbs. Be sure not to touch the glass part of the bulb with your fingers, as oil from your skin can cause hot spots and reduce bulb life.
3. Install the Philips LED Bulbs: Carefully insert the Philips LED bulbs into the headlight housing. Make sure they are securely in place. Refer to the product's instructions for any specific installation details.
4. Connect the Wiring: Some LED bulbs may require you to connect additional wiring or adapters. Follow the provided instructions for this step.
5. Test the Lights: Before securing everything in place, turn on the headlights to ensure the bulbs are functioning correctly. Check for proper beam alignment and adjust as needed.
6. Secure the Bulbs: Once you're satisfied with the bulb alignment, secure them in the housing. Replace any covers or clips that were removed during the installation.
7. Repeat the Process: If you're installing both high and low beam bulbs, repeat the above steps for the other headlight.
8. Final Adjustments: Make any final adjustments to the beam pattern to ensure that it's aimed correctly, preventing glare to oncoming drivers.
Step 6: Maintenance and Safety Tips
After installing your Philips LED headlights, it's important to follow some maintenance and safety tips:
1. Regularly Inspect Your Headlights: Periodically check your headlights for proper alignment and any signs of damage or malfunction.
2. Clean Your Headlights: Keep your headlights clean from dirt and debris to ensure optimal light output.
3. Be Aware of Local Regulations: Some areas have specific regulations regarding the use of LED headlights. Ensure your lights comply with local laws.
4. Use Caution When Handling Bulbs: Always handle LED bulbs with care and avoid touching the glass. The oils from your skin can affect their performance.
5. Keep Spare Bulbs: Consider keeping a spare pair of LED bulbs in your car in case of unexpected failures.
Conclusion
Selecting and installing Philips LED headlights for your car can significantly improve your night driving experience and enhance the aesthetics of your vehicle. By following the steps outlined in this guide and paying attention to the details, you can ensure a successful and safe installation. Remember to prioritize safety and compliance with local regulations, and enjoy the improved visibility and style that LED headlights provide.


